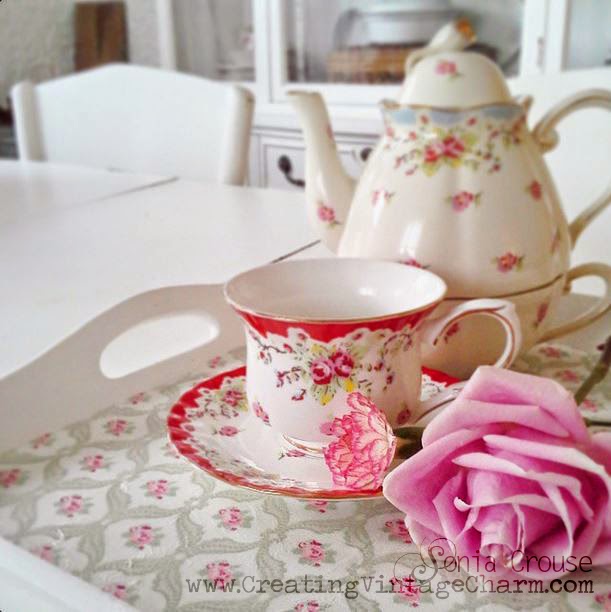
I would like to share a quick tutorial for a project I worked on yesterday to Re-purpose an old wood tray from an eye-sore to something I'd totally love. If you have one of those or find one at a thrift store and you would like to turn it into something FAB, you could try this.
What you'll need for this project:
White paint or any paint color your prefer (I used Amy Howard's One Step paint in Bauhaus Buff)
Royal Coat Decoupage Finish. NOTE: this is a glue and sealer.
Two Brushes
Paper napkins. I love IKEA's napkins that also match my dishtowels and apron.
1. I started by following instructions for painting the tray with Amy Howard's One Step paint and making sure the paint dried which usually takes about 15-20 minutes. Use what instructions you have to what paint brand you use. Make sure its completely dry before moving on to the next step.
2. Measure and cut the paper napkin to fit the bottom of your tray. Then gently remove the white backing layer off the napkin.
2. To glue: Dip your brush into the Decoupage Finish and unload excess either by pulling your brush up on the side of the container opening or by brushing excess onto a piece of cardboard. You need to have enough glue/finish but not too much that napkin will absorb and start tearing while laying it on surface. It really doesn't take much glue as long as you cover the entire surface well and not leave any bubbles.
4. Starting on one end of the tray brush on the Decoupage Finish and lay your paper on the glue and smooth it in place. Do this step a bit at a time, brush on a stripe of glue and smooth napkin in place then lift up napkin to brush on another stripe of glue working your way from one end of the tray till you reach the other end.
5. Let the glue/napkin dry and stiffen for at least 30 minutes.
6. To seal: Brush the entire surface with Decoupage Finish; when completely dry and clear (about 30 minutes), repeat at least once or twice .
The decoupage surface will dry in about 30 minutes but it takes four weeks to cure. Then you can clean your tray with a damp cloth after that.
I hope this tutorial inspired you to create something beautiful soon.
Enjoy!!
Con baci,
Sonia


No comments:
Post a Comment